How To Do Stitch Braids: A Bit By Bit Guide
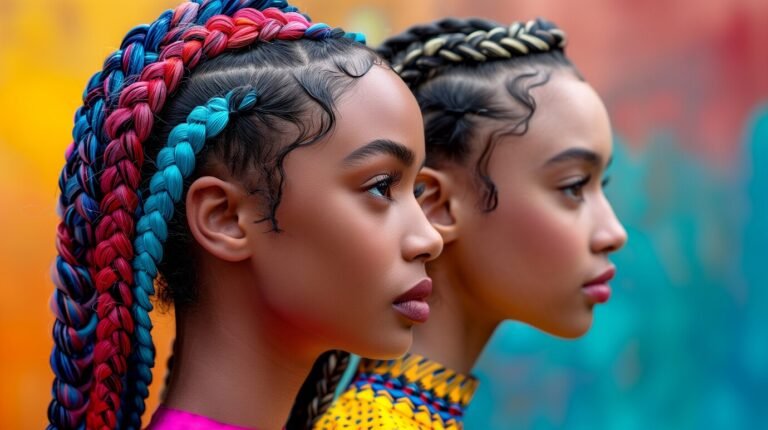
Braiding is the most famous hairstyle among girls nowadays. It is also a frequently done hairstyle, as it is the most protective and versatile hairstyle. There are a lot of variations in braids, such as french braid, butch braid and dutch braid. Hairstylists use different techniques to make each braid and differentiate between each of them. If you are a pro hairstylist or you love to do DIY hairstyles. This guide will help you on your journey of trying different hairstyles. In this article, we will explore how to do stitch braids, we will guide you through the whole process.
This is the most common hairstyle in Africa, as the women there love to stitch braids and protect their hairs against any harm such as friction. If you want to give a nice twist to your basic braids and you are getting bored of doing the same hairstyle, then you should try this stitch braids tutorial. People with less volume in their hair are mostly recommended to do braids such as dutch braids and stitch braids.
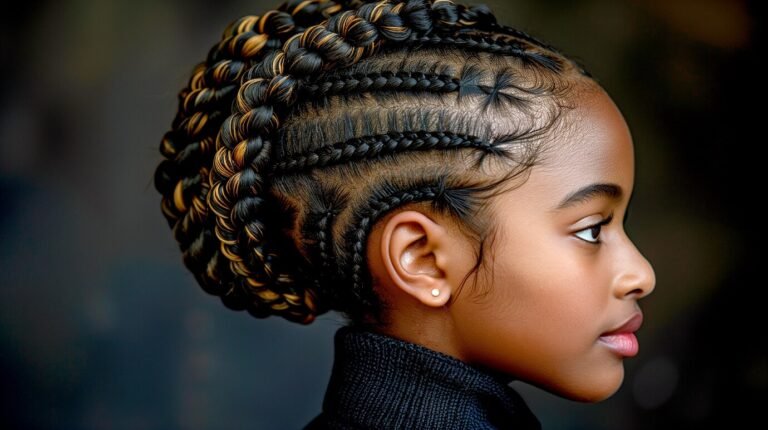
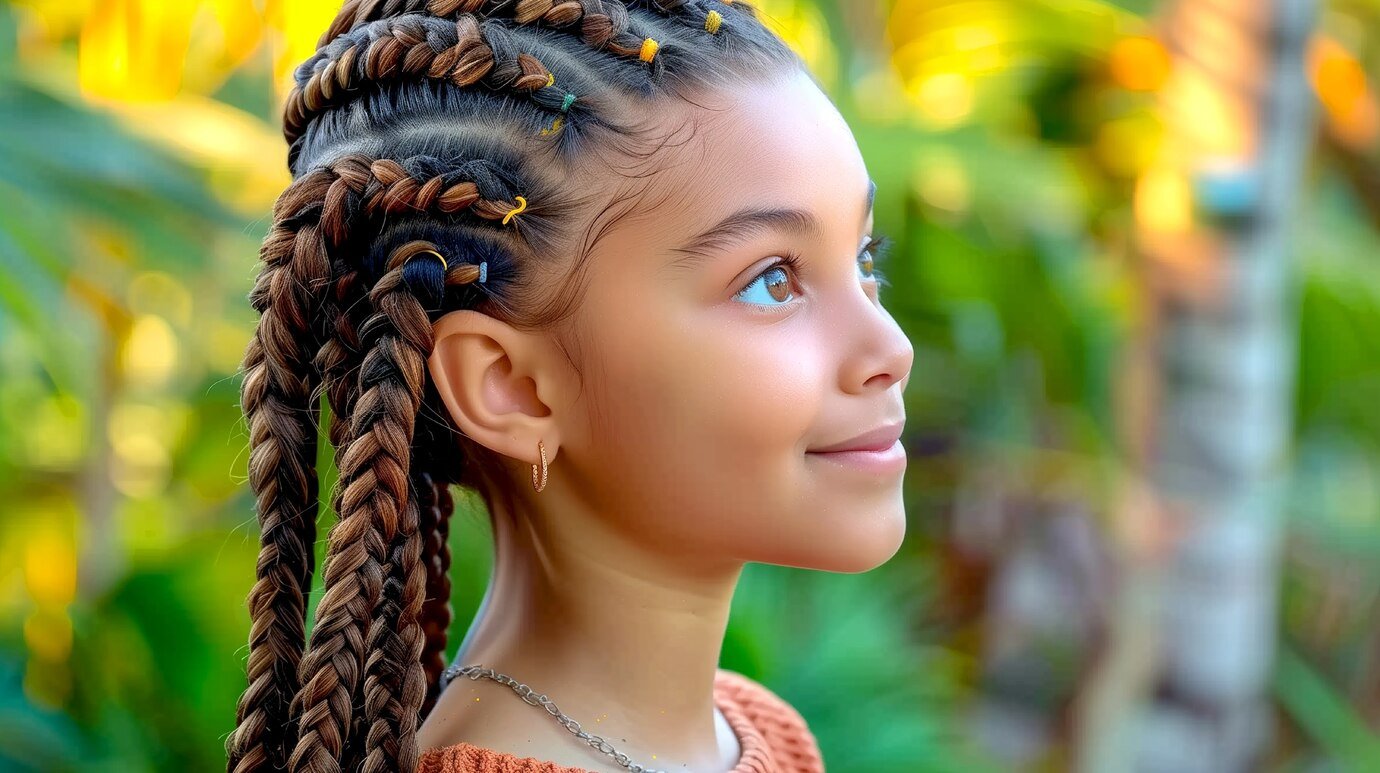
These stitch braids are mostly known as the designer braids due to their pattern on your head. They give an illusion of embroidery on your head. With this hairstyle you can compete with anyone with your hairstyle. This will give a graceful look to your hair all the time. In this hairstyle you have to use extensions in order to increase the volume, length and to protect your hair.
What Are These Stitch Braids:
In simple words, stitch braids are the protective hairstyle which is done by adding narrow and broad locks of your hairs, they are on a frequent and equal interval, so it looks like a stitching pattern on the head. It also feels like the extensions are used to make these braids. The method is organic to make these braids by hand and also some hair products are used to keep both natural and artificial hairs stick together firmly. You can enjoy your stitched braids for months and days, if you take proper care of them.
How To Do Stitched Braid:
There are 2 techniques in total for how to do stitched braids. Here are detail process for both of them:
Stitched Braid with Rubber Band Approach:
As this is cleared from the name of the braid, this process is done by using many rubber bands. In this, rubber bands are used to secure the stitches and prevent them from loosening. This technique is for the beginners that are new to this stitched braid.
Start by brushing your hairs to make them tangles free, make sure that your hairs are freshly washed. This will further help you to make neat stitches. Make 2 sections of your hairs from the crown till the end of the hairs. This will help you to easily work on one side at first. At this step you can apply some hair products to soften your hair and you can easily keep working on your hair. These products will add neatness in your stitch cornrows.
Start making sections from the crown to the nape of the neck. You can decide the thickness of the sections as per your own choice. For how much you want them to be thick or thin, but they should be 1 to 2 cm in measurements. Use rubber bands to secure each section, this will help to keep the hairs in place and there will be no need to stitch or braid them.
Start by taking 2 horizontal sections at first time, take a start from the crown and add extensions when coming down to the end of your hairs. For stitching, keep adding the hairs from the sides to stitch them neatly. Now repeat the same process to complete the process. End up the braid till the lengths of the hairs. Use a tail comb for more clear sections.
Stitch Braids Styles with Finger or Comb Approach:
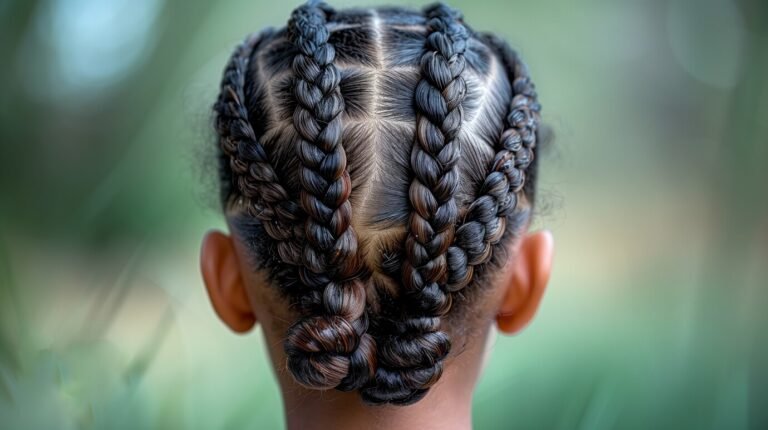
In this technique you have to use our fingers or the tail comb to do the sections of the hairs. Wash off your hairs as it will make them smooth and you can easily work on them. Make the sections of your hairs. At this point use some holding cream or a wax to keep roots in place and this will make working easier for you. Now make 2 horizontal sections of each vertical section and start stitching. You can add extension after the first braid, use tail cobb to make the sections. Use the same process to do the braid from the crown area till the end of the hairs. Repeat the same process for the other sections of the hairs. Traditionally there are 5 vertical sections made out of these stitched braids.
There is a small difference between rubber bands and combs or finger techniques. You can use both of them, but there is a point that the rubber bands may damage your hairs by producing tension between the hair roots and the scalp, it can cause breakage also. The choice is yours, you can choose according to your preference and convenience. You can start with rubber band technique and when you become pro you can end up by using hands or comb. The quick stitch braids tutorial is described for your help.
For How Much Time I Can Keep These Stitch Braid Hairstyles:
The longevity of these braids totally depends upon some points like caring for the braids, growth of hairs and the texture of the hairs matters a lot. But traditionally these braids last up to 8 weeks. If your hair grows faster then you have to keep them tight and in place by giving them proper touch ups. But you have to take care of these stitched braids if you want them to last longer.
How to Take Care of These Stitched Braids:
As these stitched braids are one of the protective hairstyles but they also need to be taken care of. They are low maintenance hairstyles and do not take too much time. Here are some maintenance tips:
Shampoo and Conditioner:
You have to shampoo your braids at least 1 or 2 times a week. Dip a soft cloth or you can use a cotton pad, into shampoo and wash off any dirt or build up in your hairs. Use a second cloth dipped in water to remove the shampoo from your hair. You can dry them with a towel at this point or after thoroughly rinsing the shampoo out of your hairs. Use a gentle hand in the whole process to avoid any damage and loosening. For conditioning, do not skip this step as it is very important for the hydration of your roots. You can use the same technique as you used for shampoo. Try out special shampoos and conditioners for these protective hairstyles.
Drying Process:
After these 2 important wet steps the 3rd one is to dry the water from the scalp. As due to braids it is impossible to dry the scalp. You have to use a microfiber towel to soak up any water or you can use some hair dryers to make sure it dries up completely. You can use an oil on the scalp for extra care after all of these steps.
Moisturizing Process:
To give extra care to your hair try to use some leave-in conditioners or serums that are available in the market nowadays. They will protect your scalp and roots from any damage.
Try to Use Silk Scarfs or Pillowcases:
Try to cover your hair with a silk turban or you can use a silk pillowcase while sleeping. It will prevent your braids from damage caused by the friction of the hairs. It is helpful for overall health and protection of hairs.
Faqs:
How to do a braided stitch?
There are 2 processes of doing braided stitches, such as rubber band technique or finger and comb technique. You can use any based on your preference.
Are stitch braids good for hair growth?
As compared to other braids and protective hairstyles, these stitched braids are the best to protect your hairs and they will help you grow your hairs and also saves them from breakage.
How to plait braids step by step?
Make sure your hair is brushed completely. Make 3 sections, cross over the left one upon the middle section and then right one on the middle. Repeat the same process till the end length of the hairs.
How long will stitch braids last?
Typically, stitched braids last up to 2 months or 8 weeks. It can be extended by taking good care of the braids.